


One of the most challenging parts of free motion quilting is to figure out how and where you will stitch. I use a simple technique that helps me visualize different patterns before I commit to them with thread and sore shoulders.

Using a piece of acetate to experiment with line
Using a large piece of acetate and a dry erase marker I sketch my ideas onto the acetate directly over the quilt. If I don't like the first pattern I can simply wipe it dry and start again. The lines are fairly thick because I have yet to find a dry erase marker with a fine point (note to Sharpie...please develop this for me). Drawing the lines gives my hands and brain a trial run for the real deal.
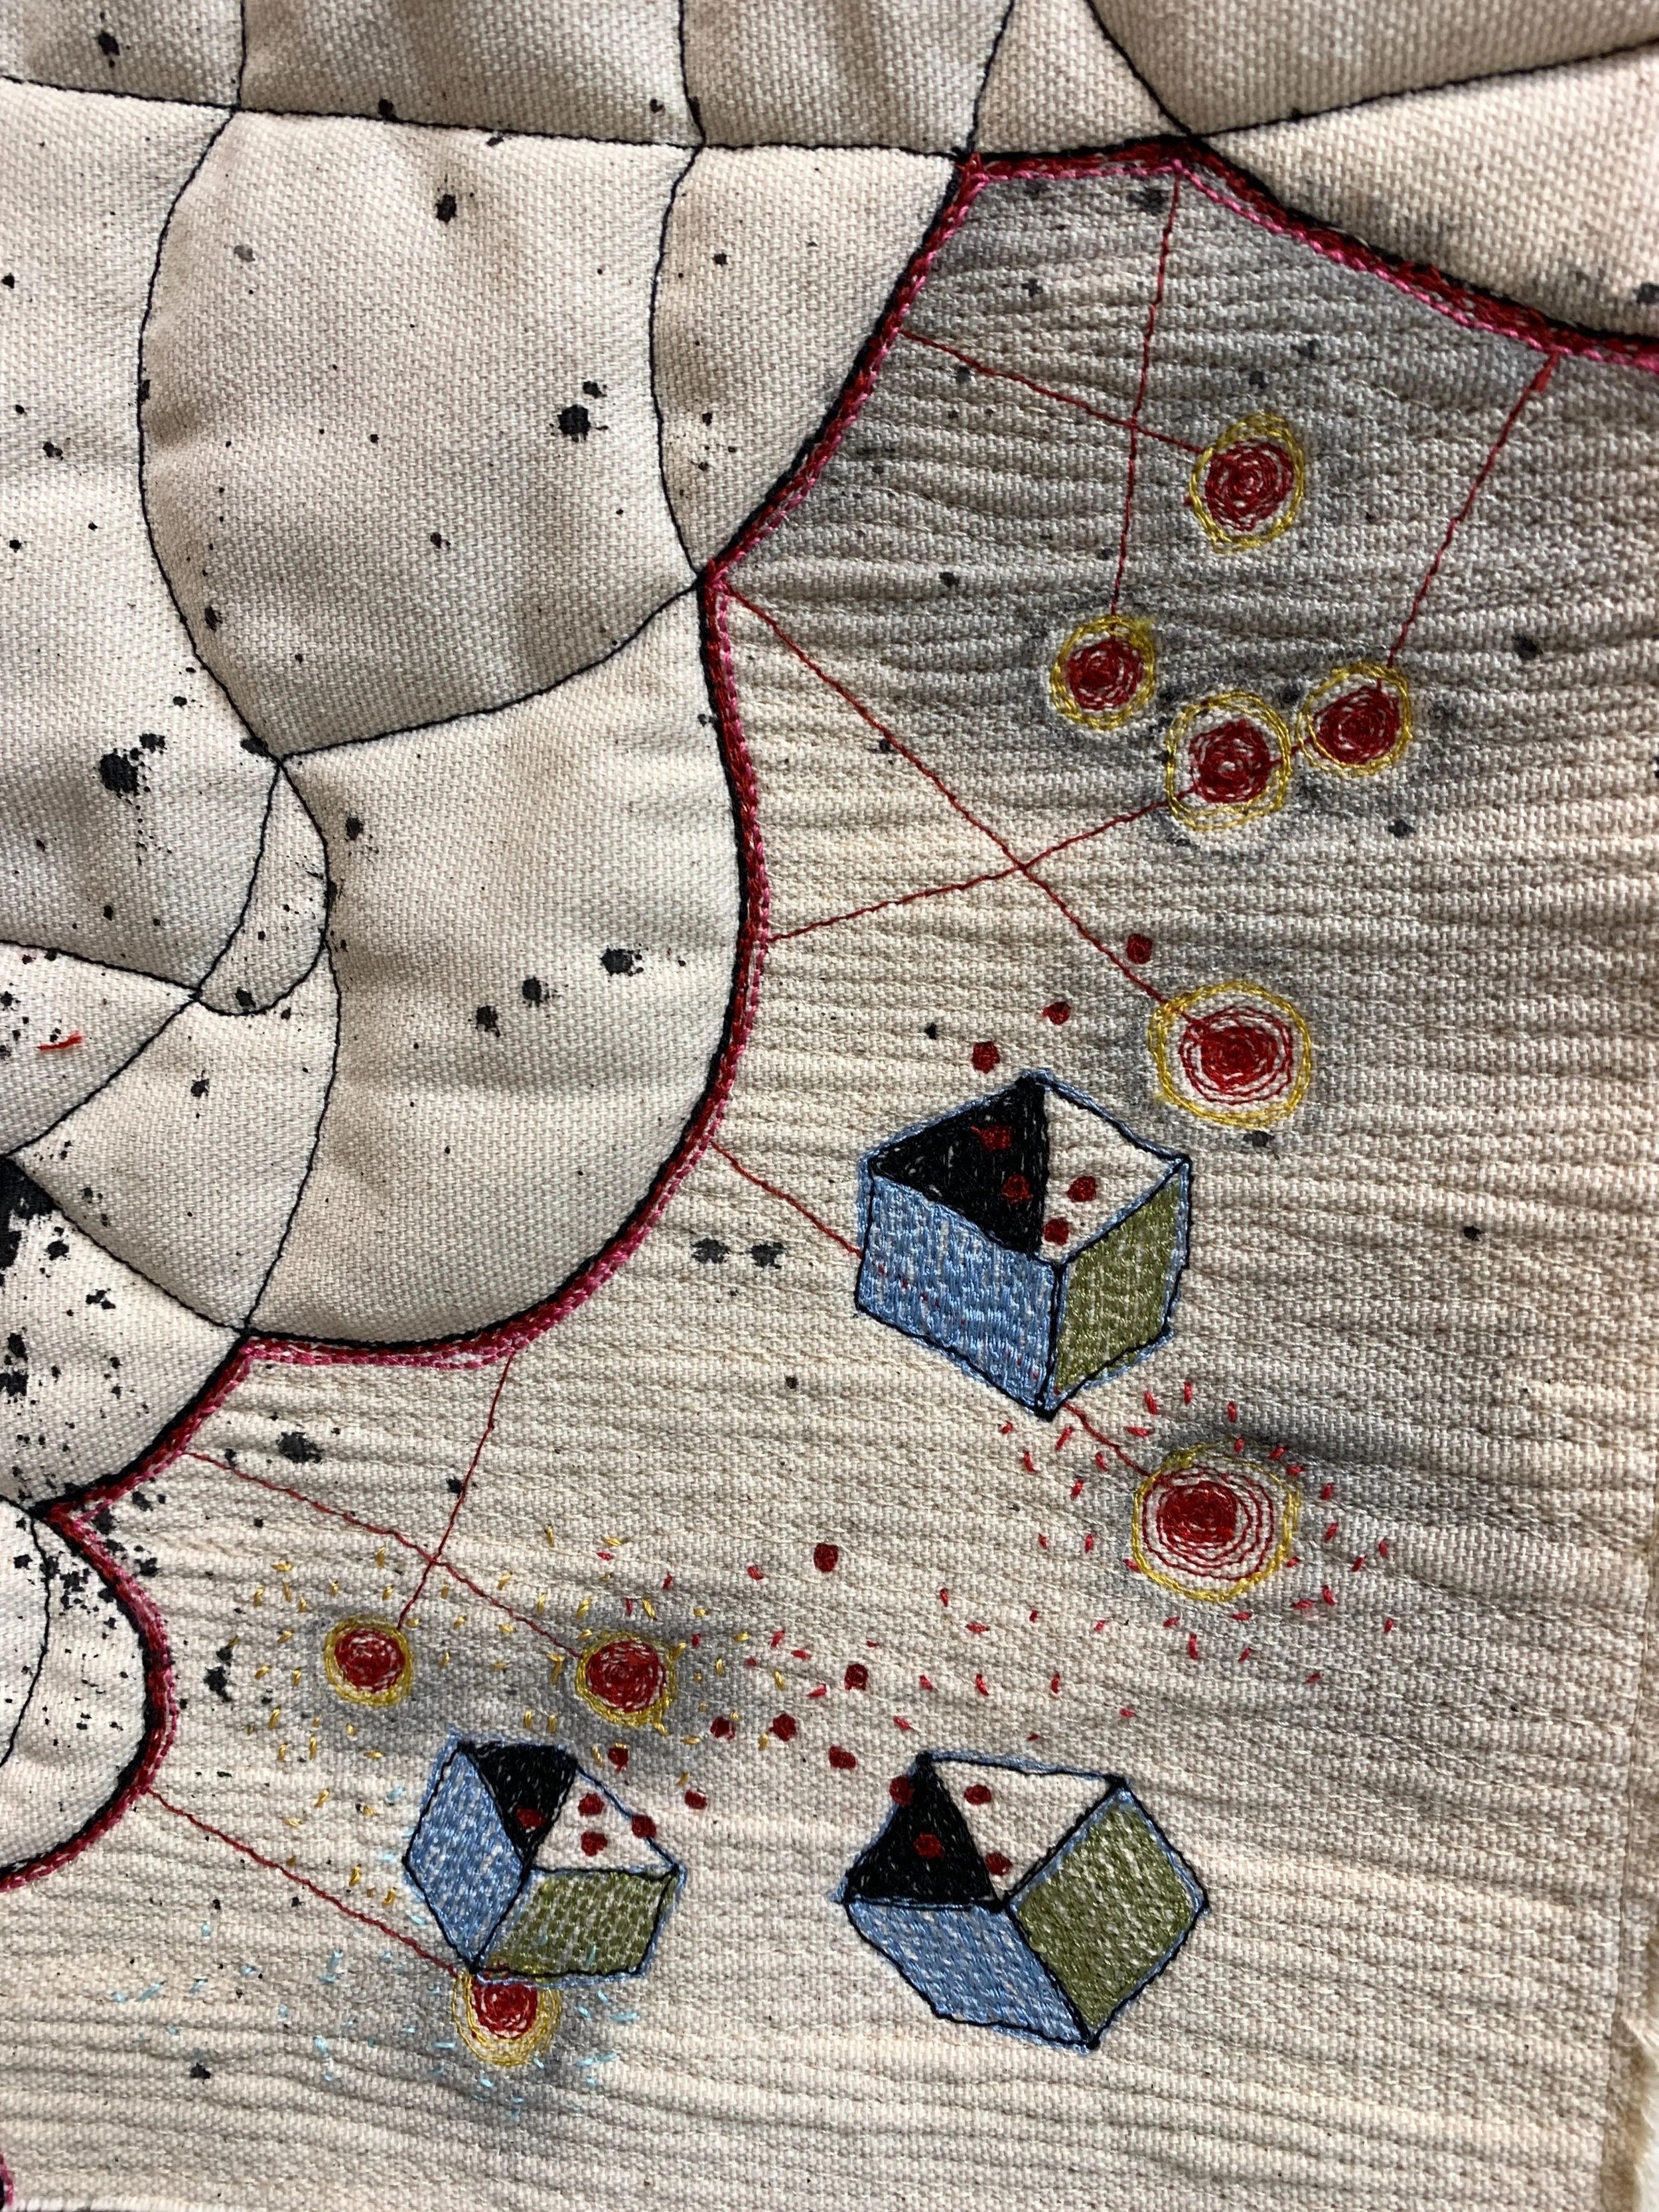
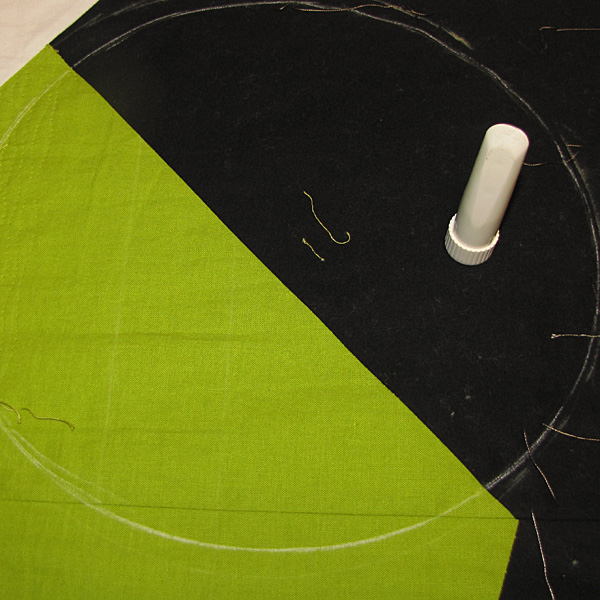
Once I have decided what I want to do I mark a boundary for the pattern on the quilt with a chalk marker. My favorite of these is the one pictured here, it has a roller at the tip that makes a thin dotted line with chalk. You can get white, blue, yellow and pink chalk. I tend to stay with the white stuff. I'll often hang the acetate near my machine so that I can see it while stitching. I'll do this stitching in the morning when I am fresher.
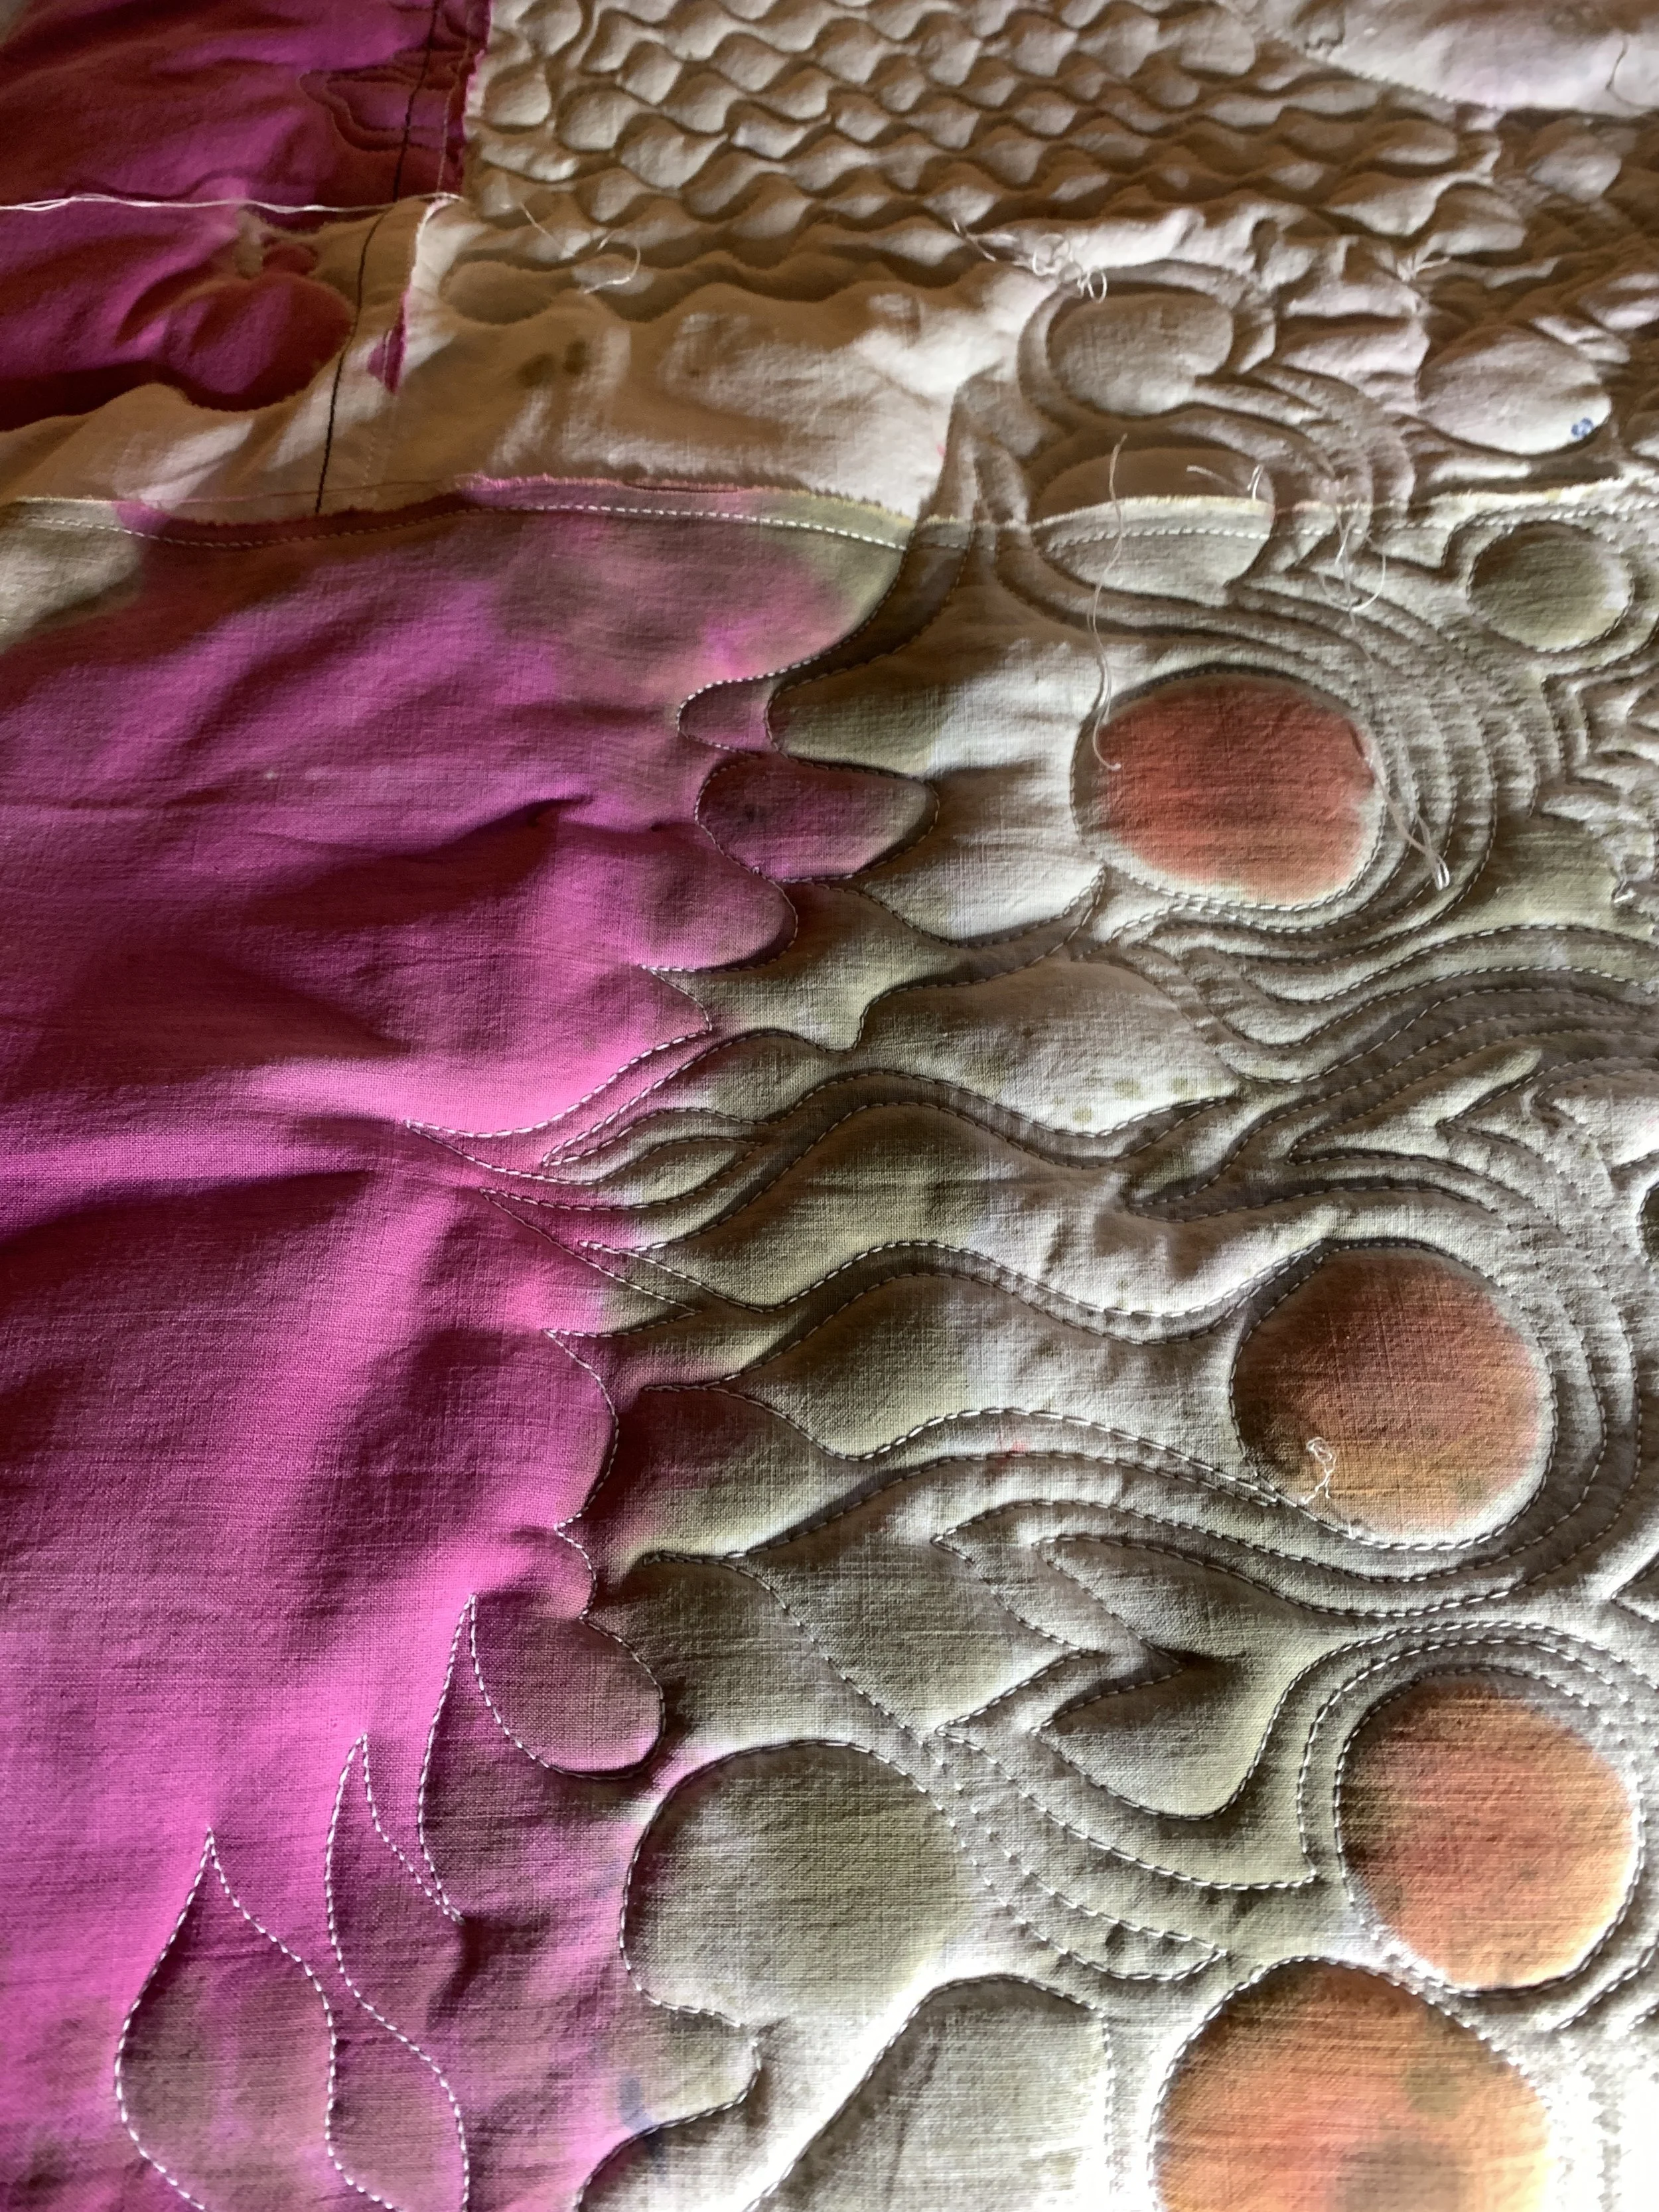
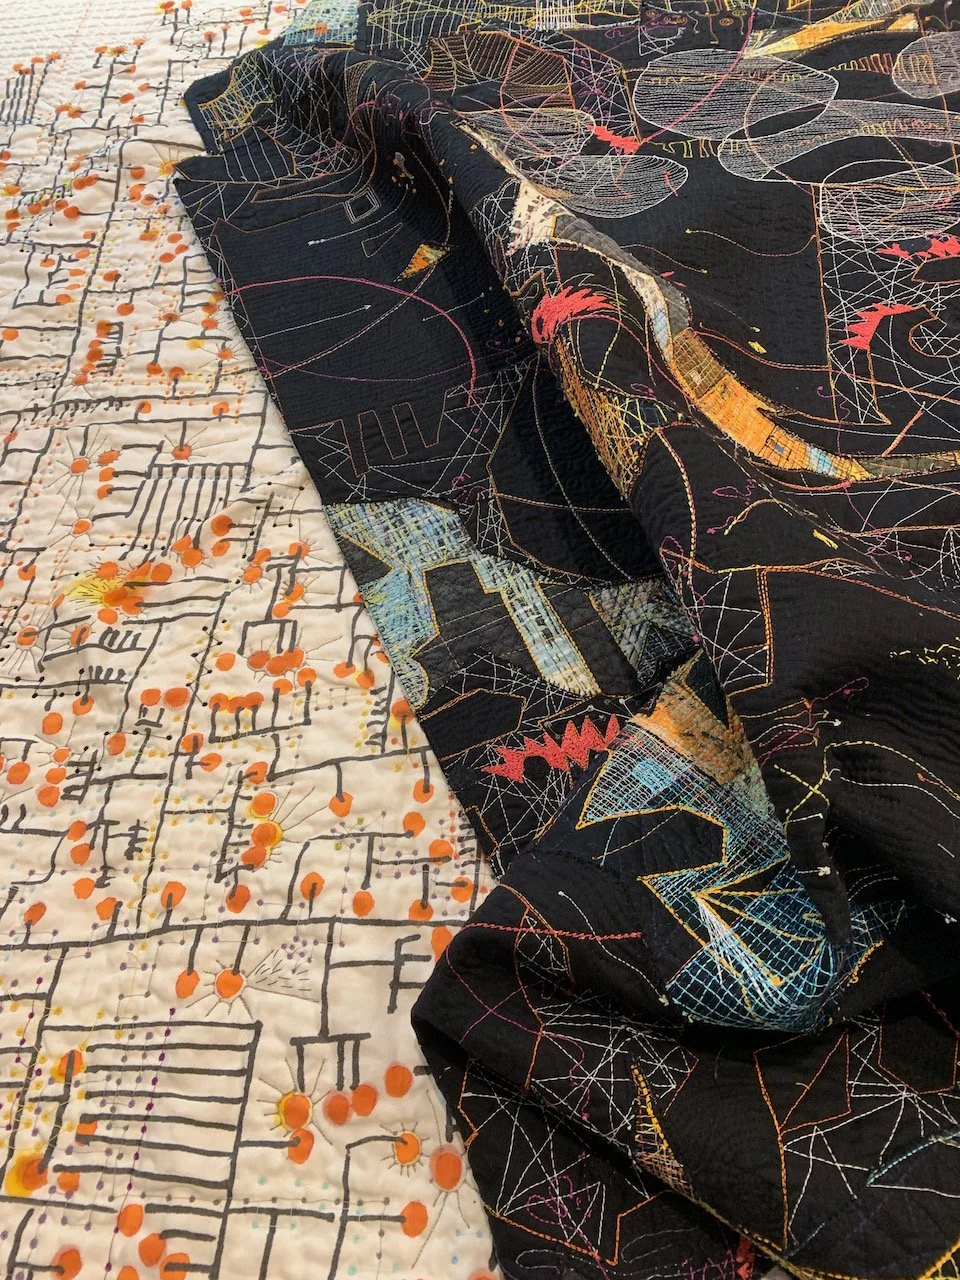
Outer boundary of stitch pattern marked with chalkOnce I am done with the stitching I am sometimes left with loose ends that need to be buried. I do this after dinner in front of the TV, tweezer and easy-threading needle in hand. This pic shows a different area of the piece where I decided to stop the background pattern where the black circles define a thought bubble.

Loose threads will need to by buried in the quilt sandwich later